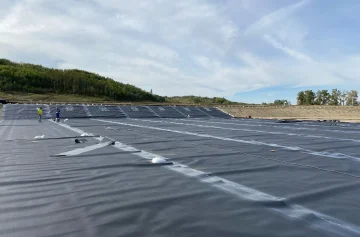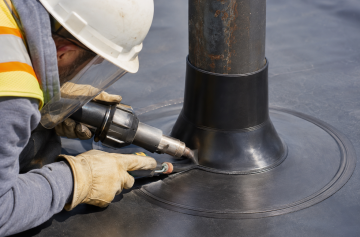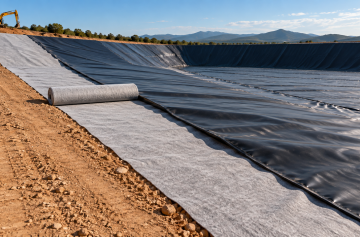
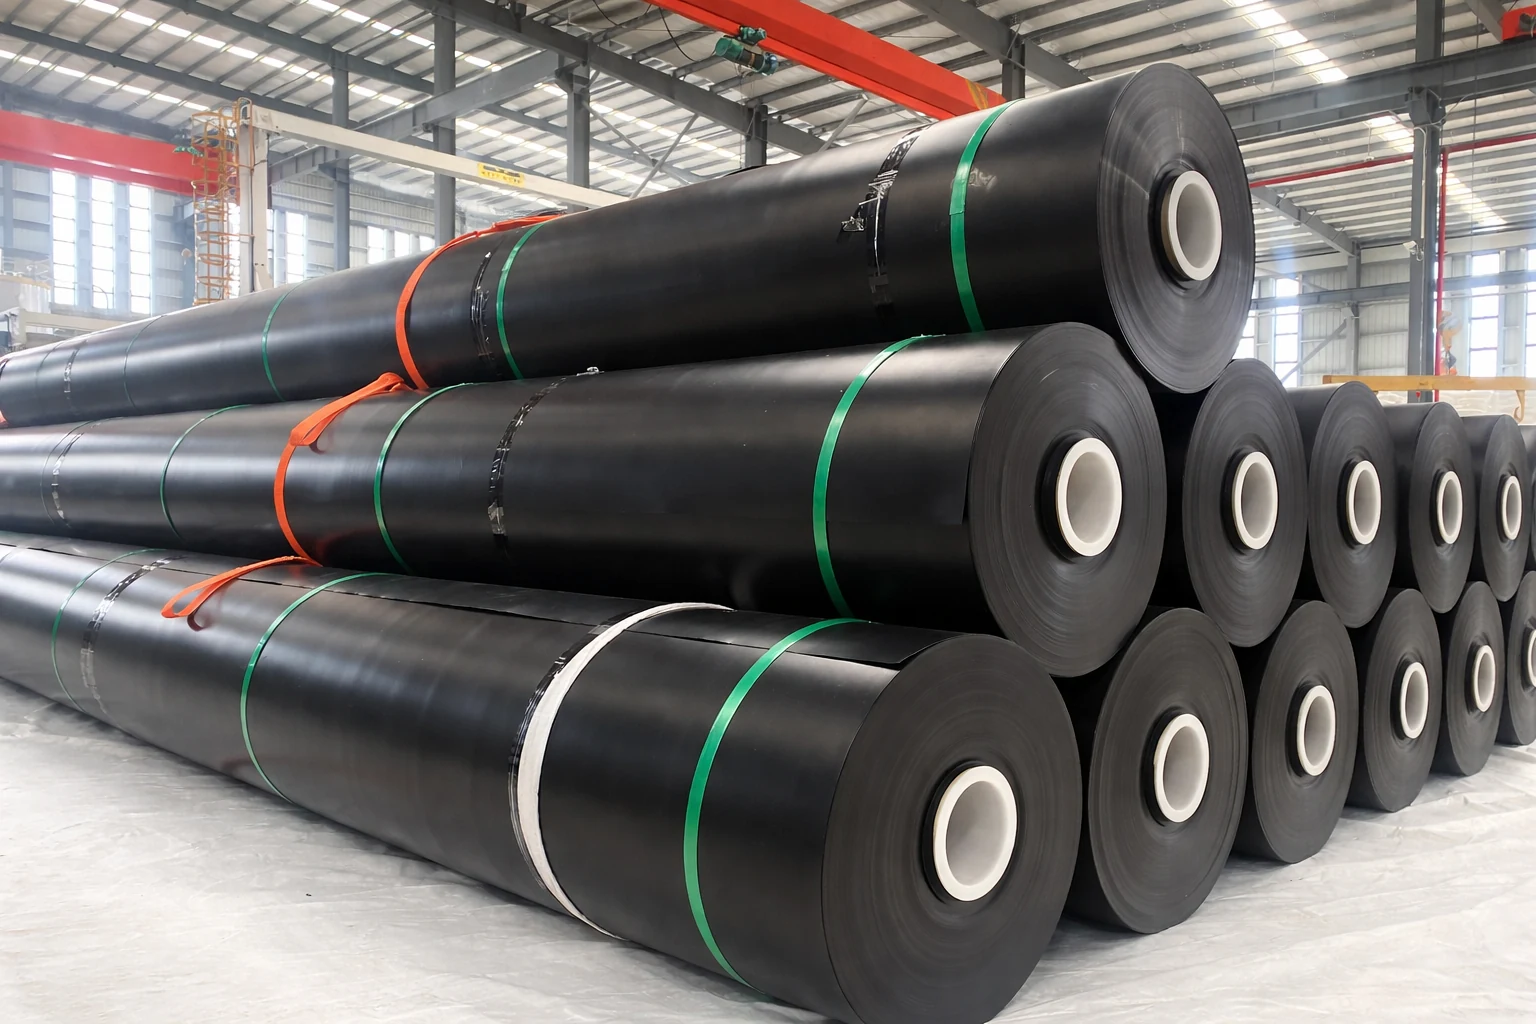

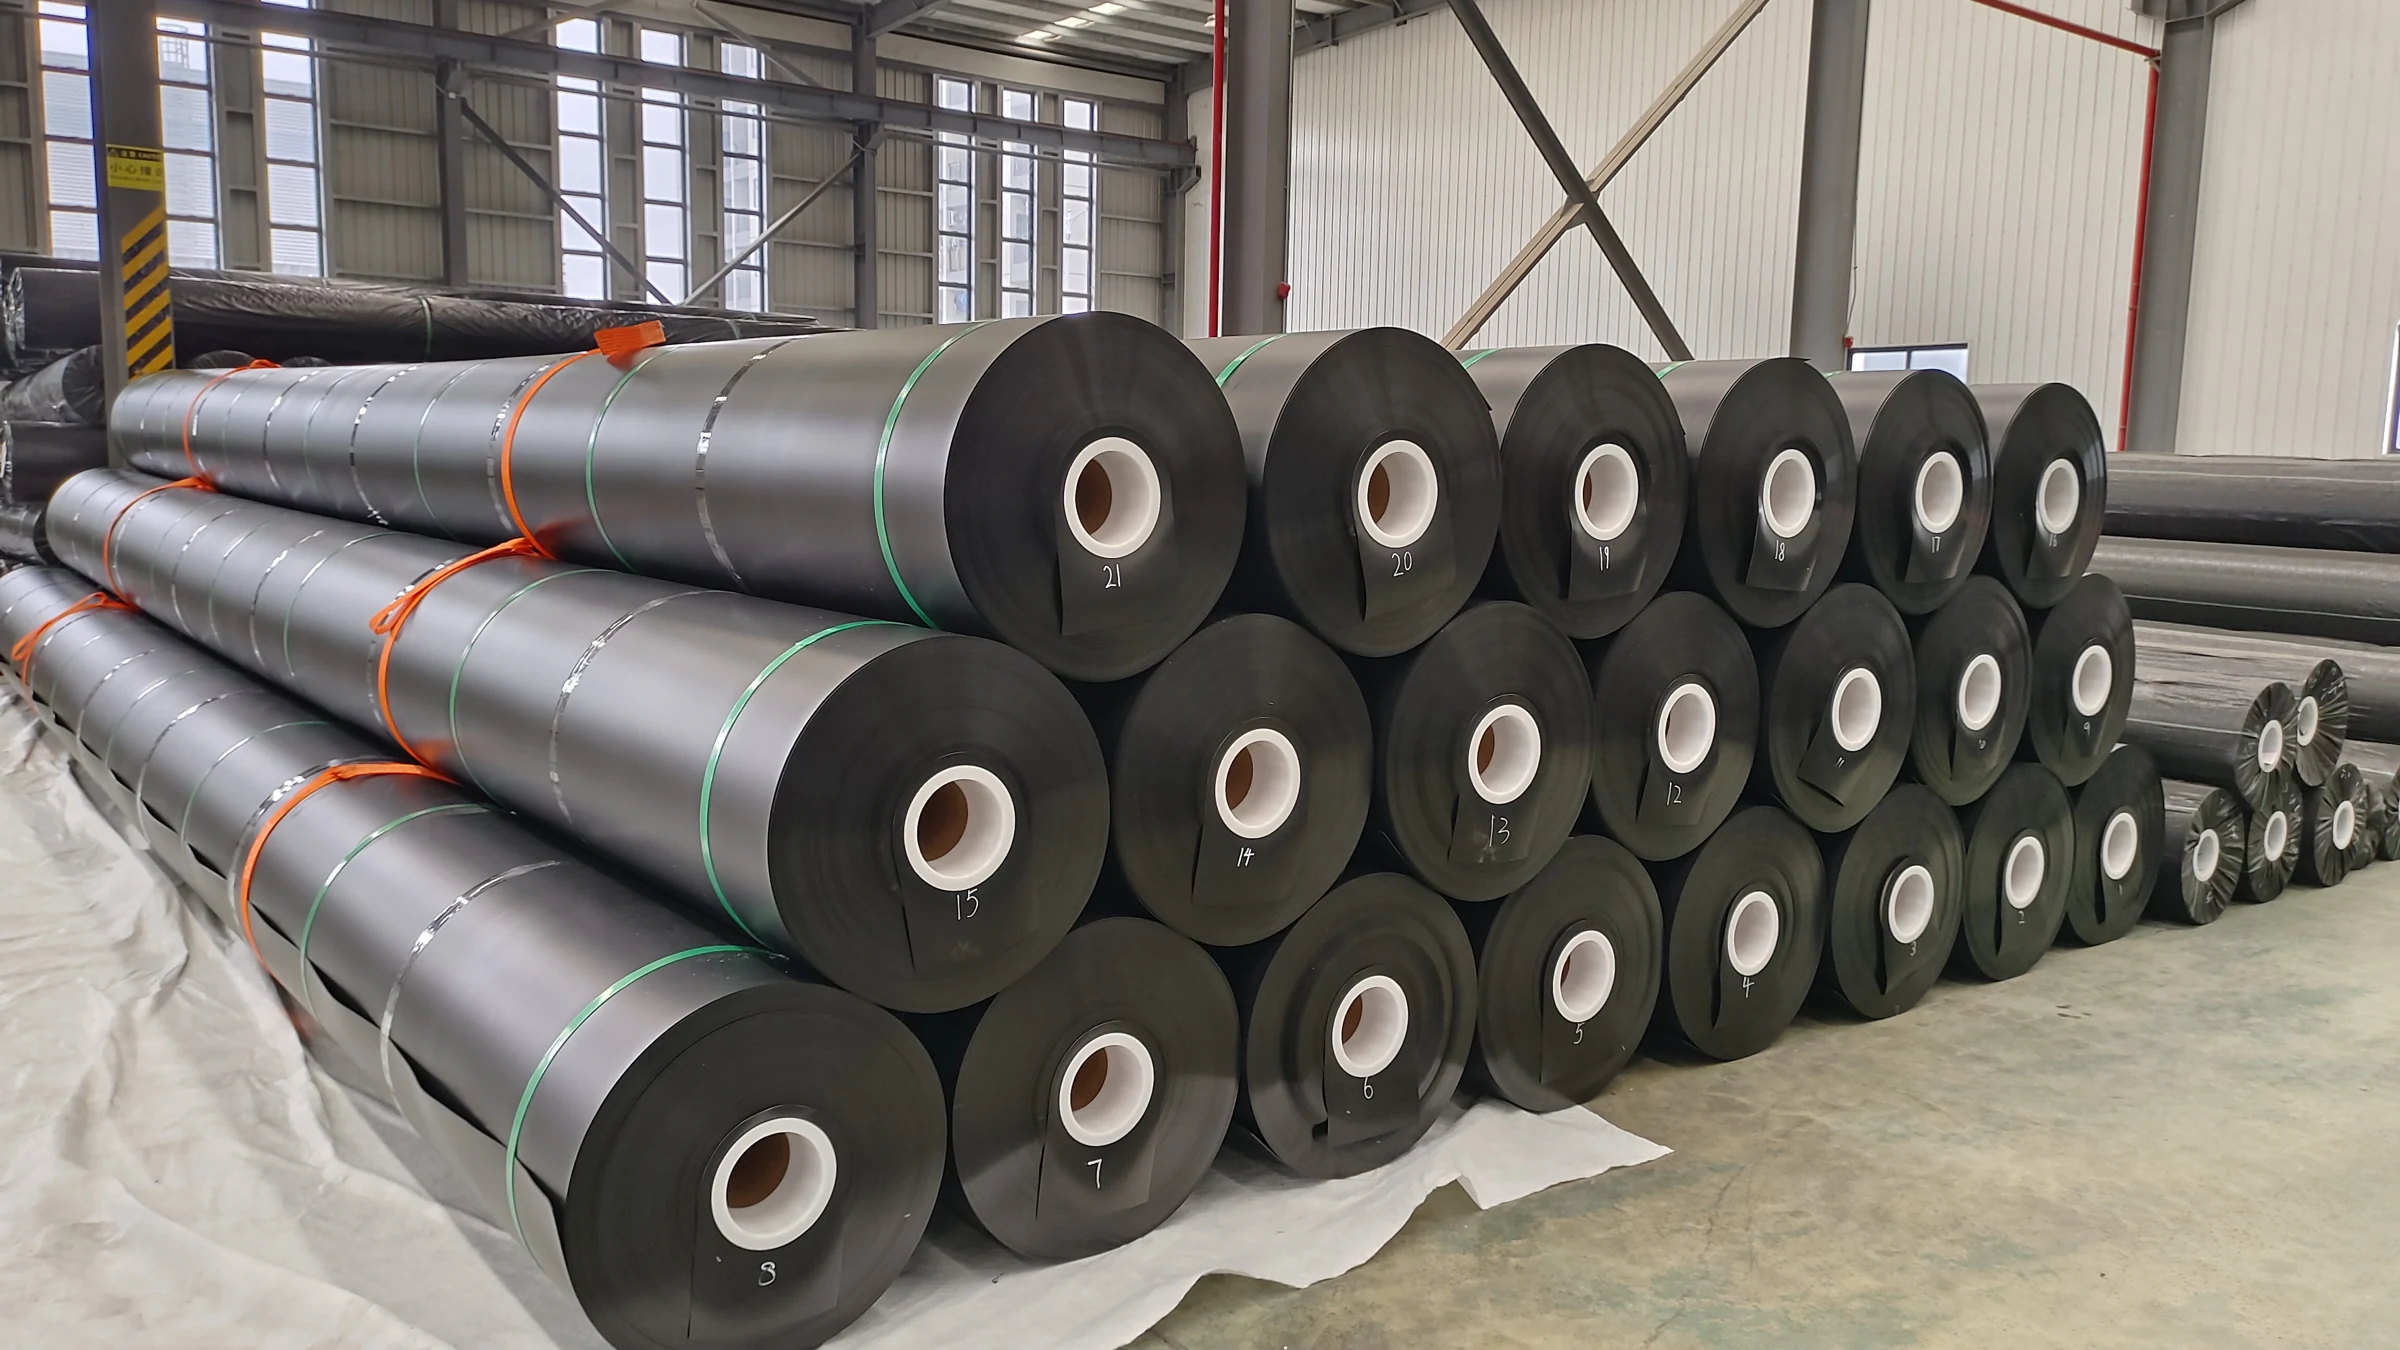

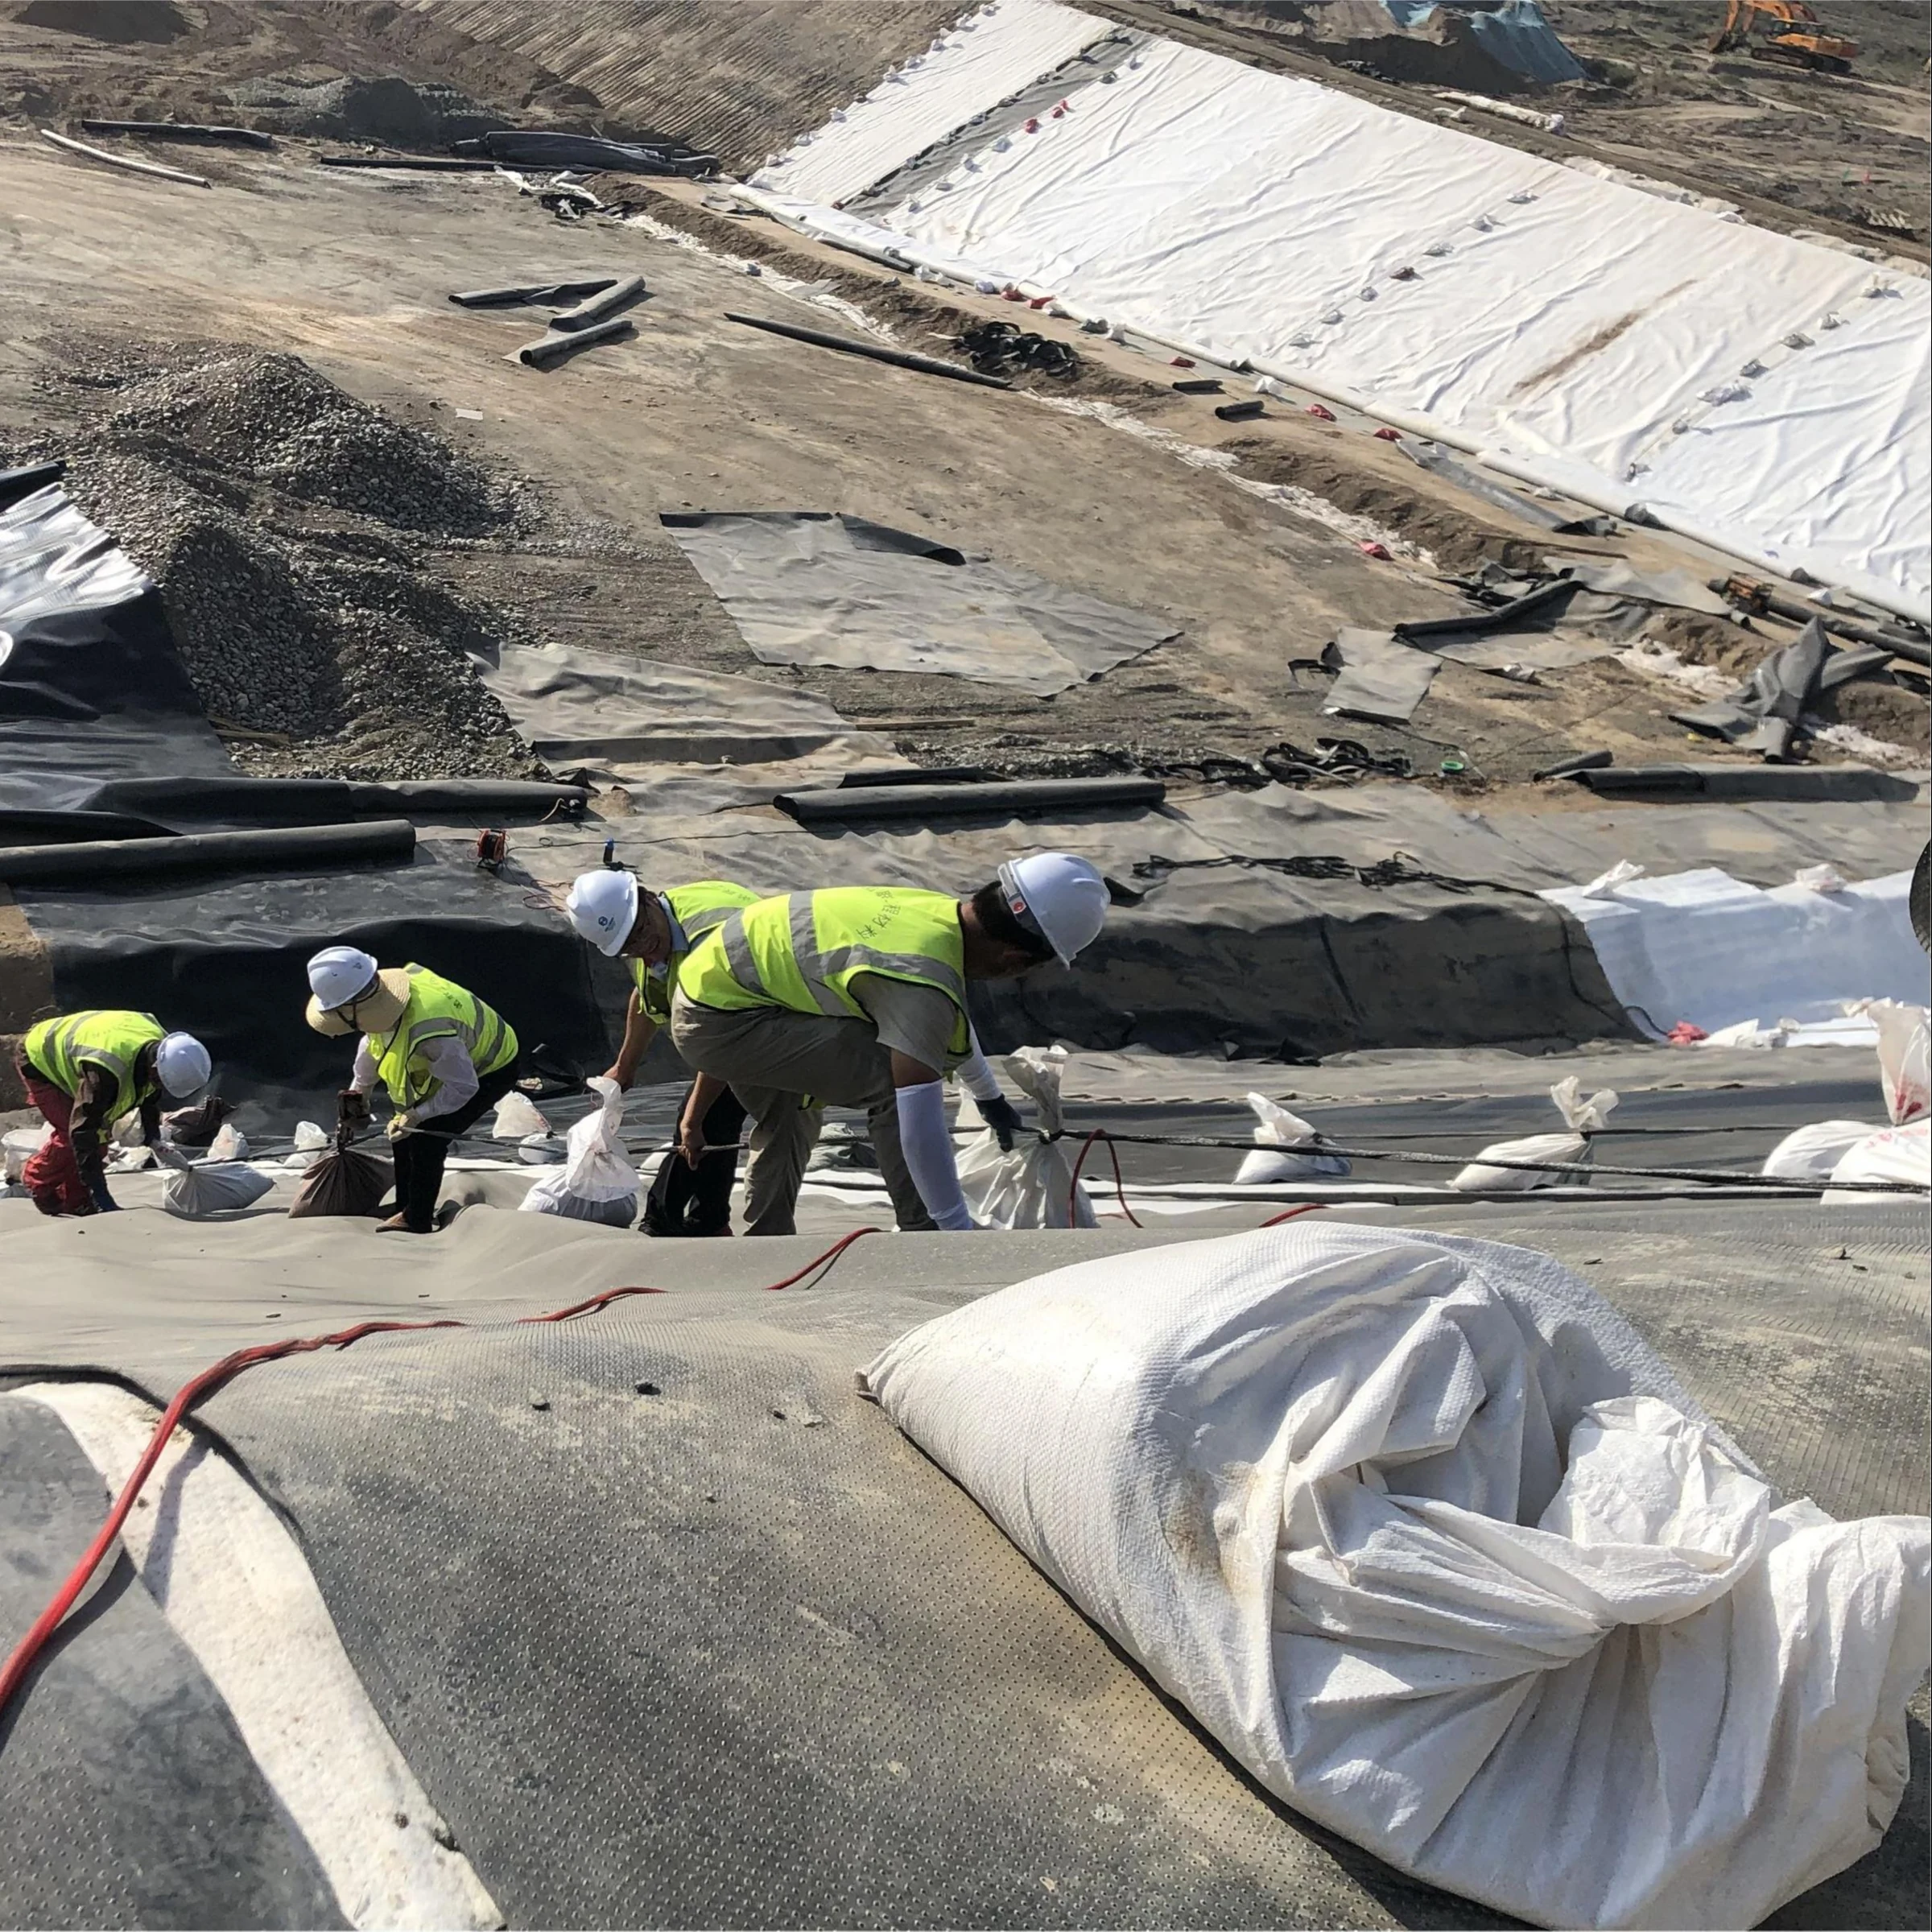
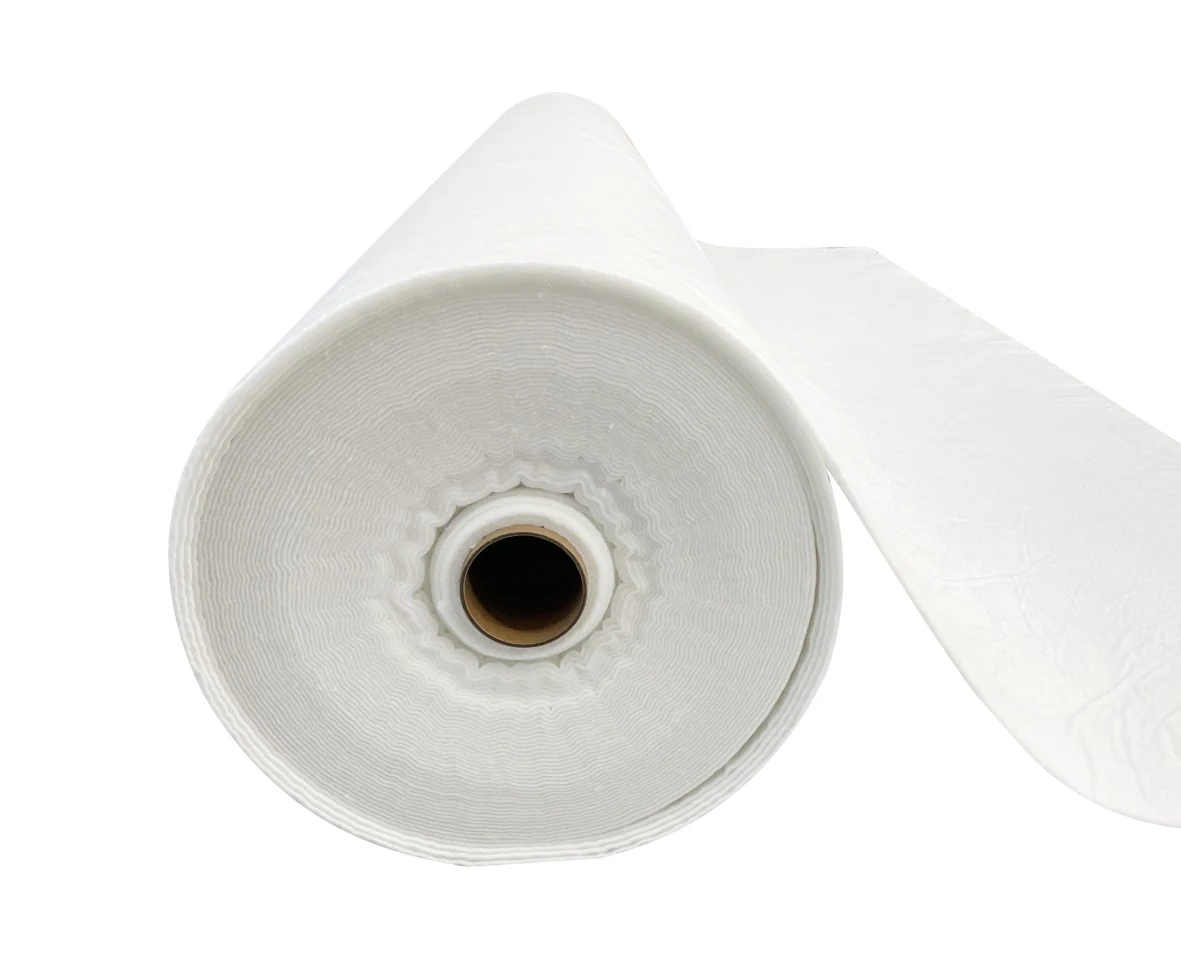

A subgrade is ready for geomembrane placement when the surface is firm, evenly supported, free of sharp objects and standing water, and any soft spots have been repaired and reinspected. Confirm the specified earthwork test results, then obtain written acceptance for the marked installation area before covering it. The Bureau of Reclamation identifies firmness, removal of sharp rocks and debris, and absence of standing water as key pre-deployment checks.[1]
Subgrade Acceptance Checklist
Use this checklist for soil subgrades. Mark each item “accepted,” “repair required,” or “not applicable.” Enter project limits for compaction, particle size, surface tolerances, and slope; the checklist does not set those limits.
| Item | Acceptance Check |
|---|---|
| Area and documents | Record the area ID, boundaries, drawing revision, and earthwork acceptance references. |
| Elevation and slope | Compare survey results with design values and tolerances. Check drainage direction and unintended low spots. |
| Depressions and ruts | Check the soil beneath each defect. Repair depressions, wheel ruts, and erosion channels without leaving loose fill or abrupt edges. |
| Sharp objects and debris | Remove stones, metal, glass, roots, and other objects that could damage the liner. |
| Surface material | Check hard clods, coarse material pockets, and loose layers against the specified surface requirements. |
| Compaction and moisture | Match test results to the required limits, test method, location, and soil lift. |
| Soft spots | Investigate settlement, rebound, pumping, and unusually deep wheel tracks. Complete repairs and reinspection. |
| Water | Remove standing water and assess the soil beneath it. Investigate persistent seepage and complete the approved treatment. |
| Slopes and transitions | Check profiles against the drawings. Hold areas with new cracks, slope movement, or toe heave for technical assessment. |
| Anchor trenches | Check location, dimensions, and edge details. Remove water, sloughed soil, and sharp projections. |
| Pipes and structures | Check backfill records, gaps around pipes, embedded items, and access for making connections. |
| Underlying layers | Confirm that each layer being covered has its required acceptance record and that defects affecting placement are closed. |
Surface Preparation
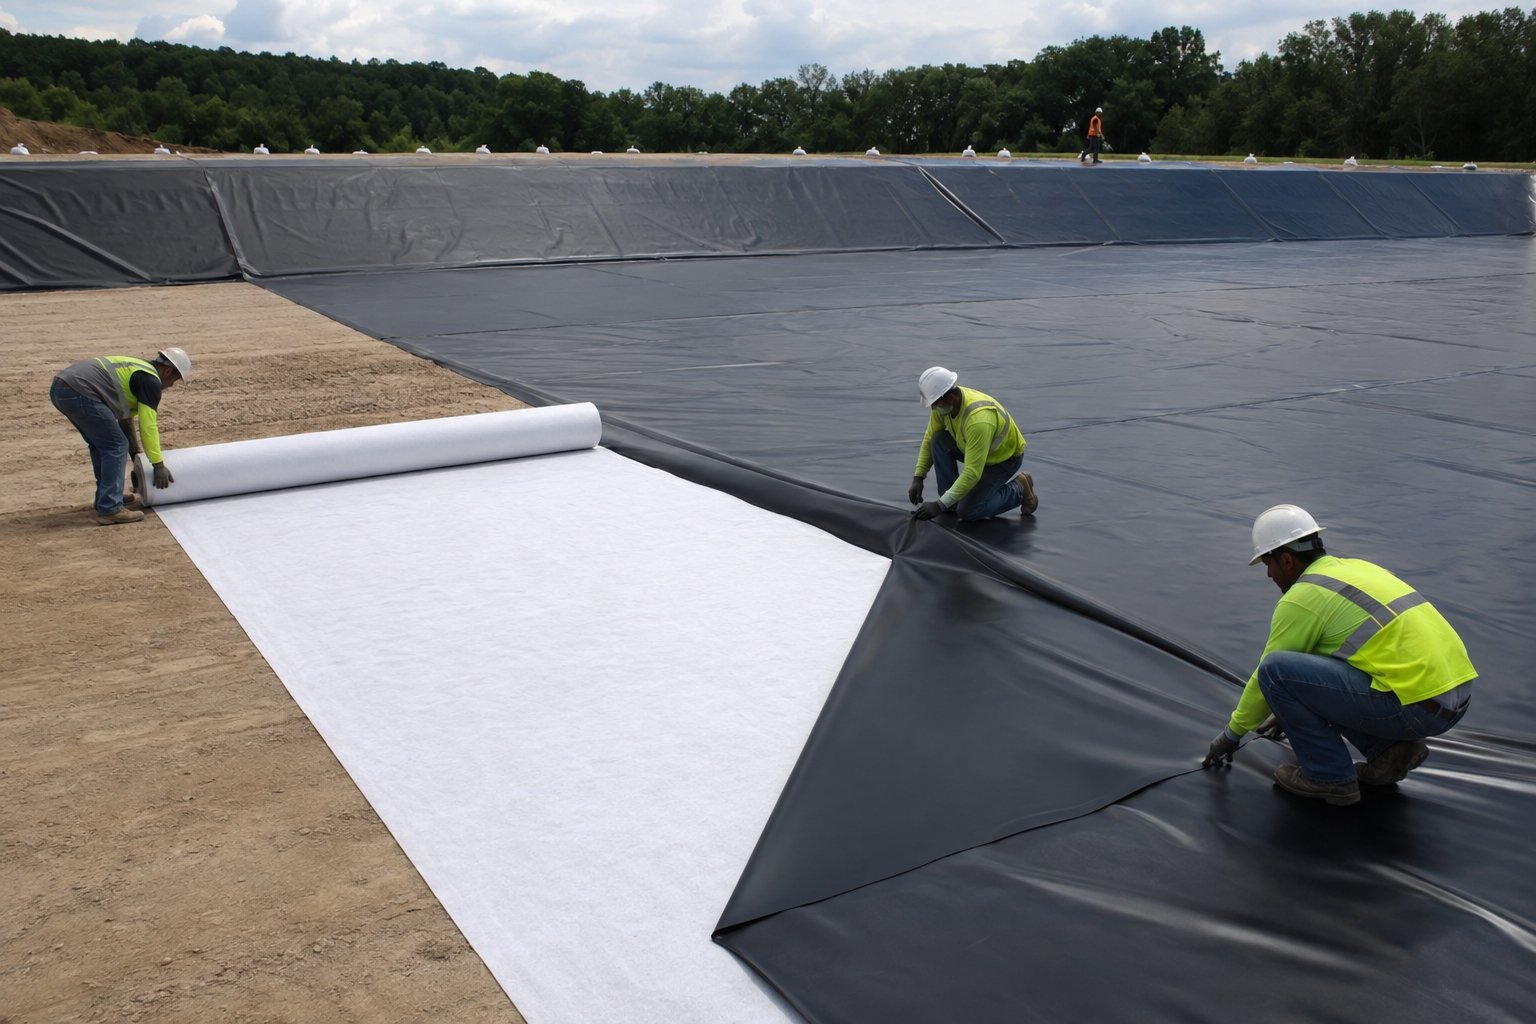
Check stone shape as well as size. A small angular stone projecting above the soil can create a concentrated contact point. Recheck the surface after grading or rolling exposes new particles. Where the specification requires removal, adding non-woven geotextile does not replace that work.
Inspect the bottom of a rut before filling it. If the soil rebounds or squeezes out muddy water under load, investigate the soft material first. Place approved replacement fill in lifts and compact it as specified; loose soil spread over the rut is not a completed repair.
At slope toes, pipes, and concrete edges, follow the specified transition details. Check for gaps that would leave the membrane unsupported. For cracked compacted-clay layers, record crack locations, widths, and extent; the responsible engineer should determine any depth investigation and repair method.
Soft Spot Repair
For wet areas that persist in dry weather, record seepage points and drainage paths. Where settlement follows an old trench, check the excavation limits and backfill records. The visible edge of a wet patch may not show the full extent of unsuitable soil.
- Mark the defect. Assign an ID such as “S-01,” show its boundary on the inspection plan, and keep it uncovered.
- Investigate. Review fill records, soil layers, test results, and water sources. Obtain the required investigation and repair instructions.
- Repair. Follow the approved method for moisture adjustment, recompaction, excavation and replacement, drainage work, or other specified treatment.
- Reinspect. Record materials, test results, surface and drainage conditions, the inspector’s name, and the closure date.
If proof rolling is specified, agree on the vehicle, load, route, and acceptance criteria beforehand. A surface that shows no visible movement still needs the required compaction tests.
Acceptance Data
Record the specified limit, measured result, method, and report reference for each numerical check. For visual inspections, record the location, condition, photo reference, and repair outcome.
| Parameter | Details Needed |
|---|---|
| Compaction | Laboratory reference, field test method, location, lift, and testing frequency. “95%” alone is incomplete and is not a universal acceptance limit. |
| Moisture content | Soil type, specified range, sample location, and result. |
| Surface particles | Specified limits for size, shape, and protrusion, with the protection-layer arrangement. |
| Surface regularity | Measuring tool, measurement span, location, and tolerance. |
| Elevation, slope, and bedding thickness | Design values, measured values, measurement locations, and tolerances. |
Pre-Installation Sign-Off
The release record should identify the area and boundaries, inspection date, applicable specifications, test references, closed defects, excluded areas, and signatures required by the project quality plan.
Assign sign-off responsibilities in the project quality plan. Typically, the earthwork contractor supplies construction and test records, the installer checks the visible receiving surface, and the authorized representative approves release. The installer’s surface inspection does not certify concealed soil conditions.
Sample release: Area A-03 is accepted for placement within the attached boundaries. No defects preventing installation remain open. Area S-02 is excluded pending repair and reinspection of defect S-01.
Complete sign-off before coverage. Record the installation date and panel IDs against the accepted area, then carry those IDs into the welding and seam-testing records.
When to Reinspect
The IAGI HDPE and LLDPE installation guideline calls for the installer and owner’s representative to inspect and provide written acceptance of the surface to be covered each day.[2] Recheck affected areas after:
- Rain or ponding: Look for erosion, exposed particles, softened soil, and new seepage. Draining the water does not establish that the soil is acceptable.
- Vehicle traffic: Check ruts, settlement, and loosened material.
- Excavation or backfilling: Review new test records and inspect settlement along the excavation edges.
- Freeze–thaw: Check heave and softening after thaw.
- Extended exposure: Check drying cracks, wind erosion, and accumulated debris.
References and Project Applicability
Use these references to check the relevant methods and documentation. The approved drawings, contract specification and project quality plan govern acceptance. This article does not replace a site-specific design or signed inspection record.