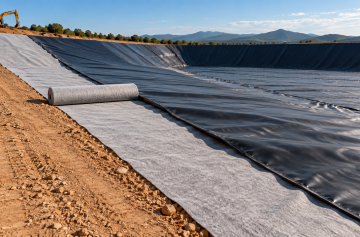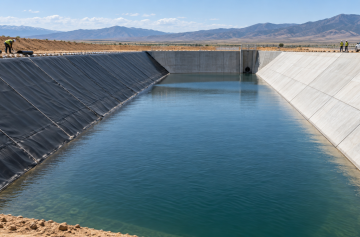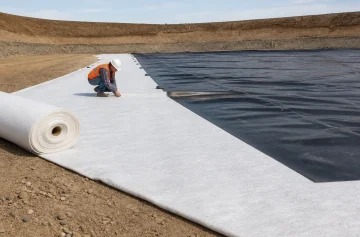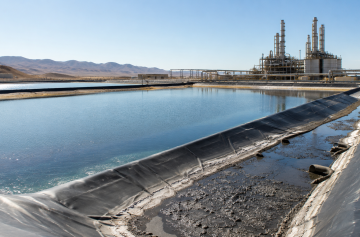
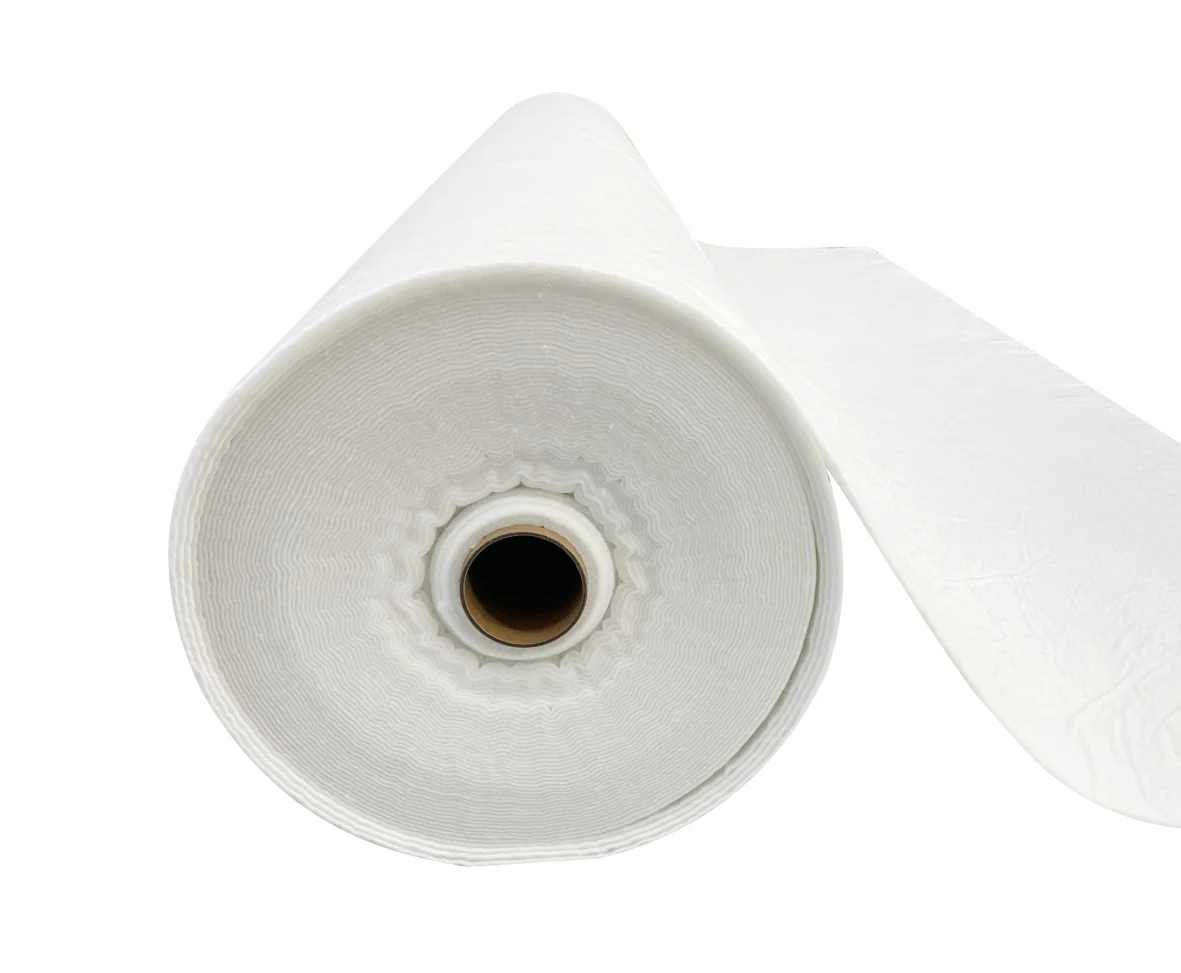

For HDPE geomembrane puncture protection, the cushion has to match the liner, the ground below it, the stone shape, and the load it will carry. A needle-punched nonwoven geotextile is commonly used, but GSM by itself does not tell you whether the system is safe. For reference, 500 g/m² equals about 14.7 oz/yd², while a 5 m depth of fresh water creates about 49 kPa of pressure at the bottom.
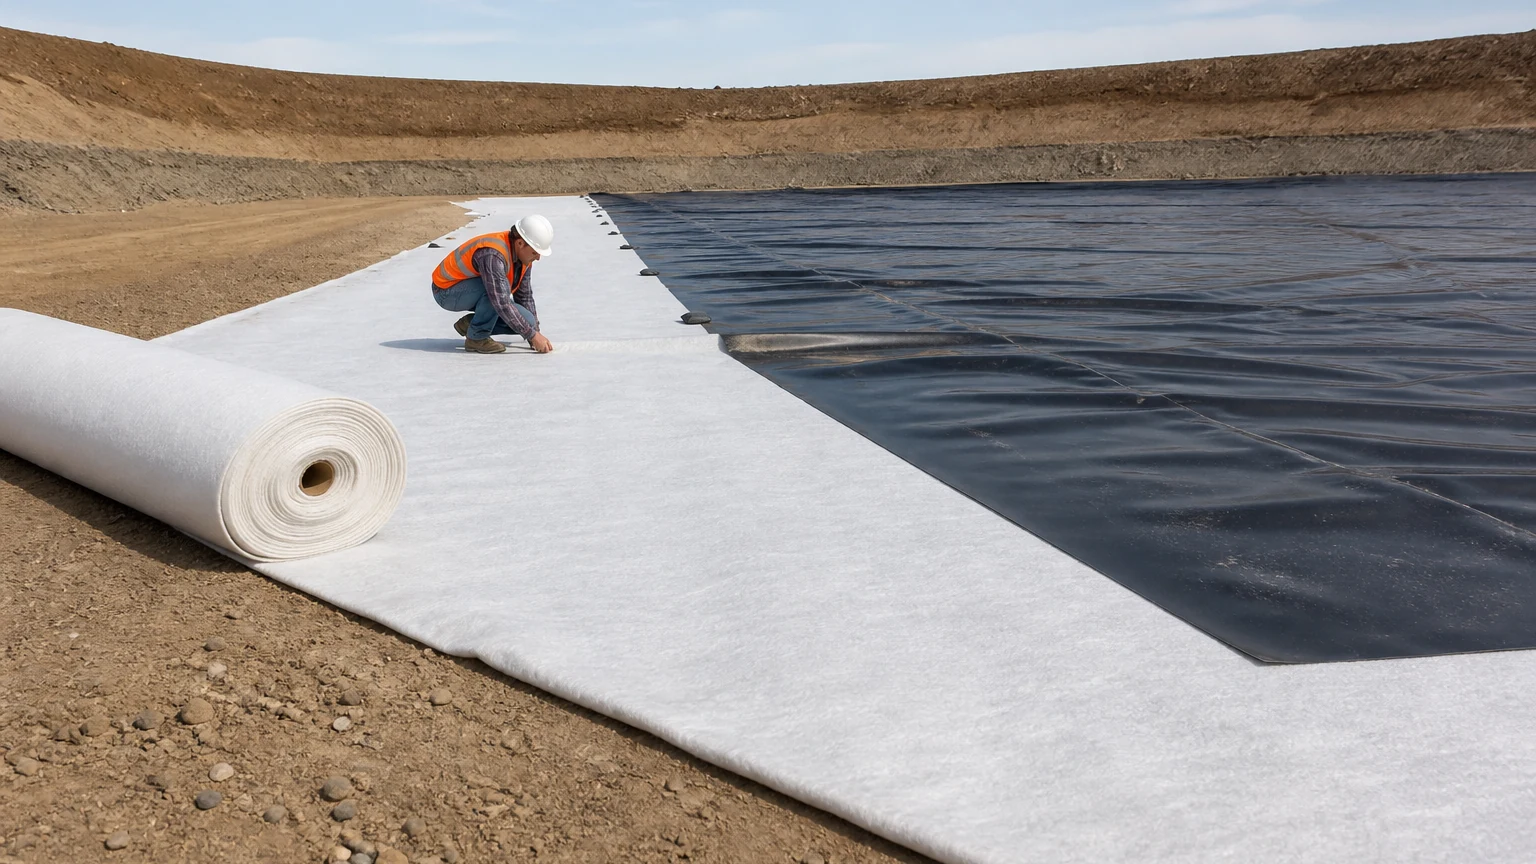
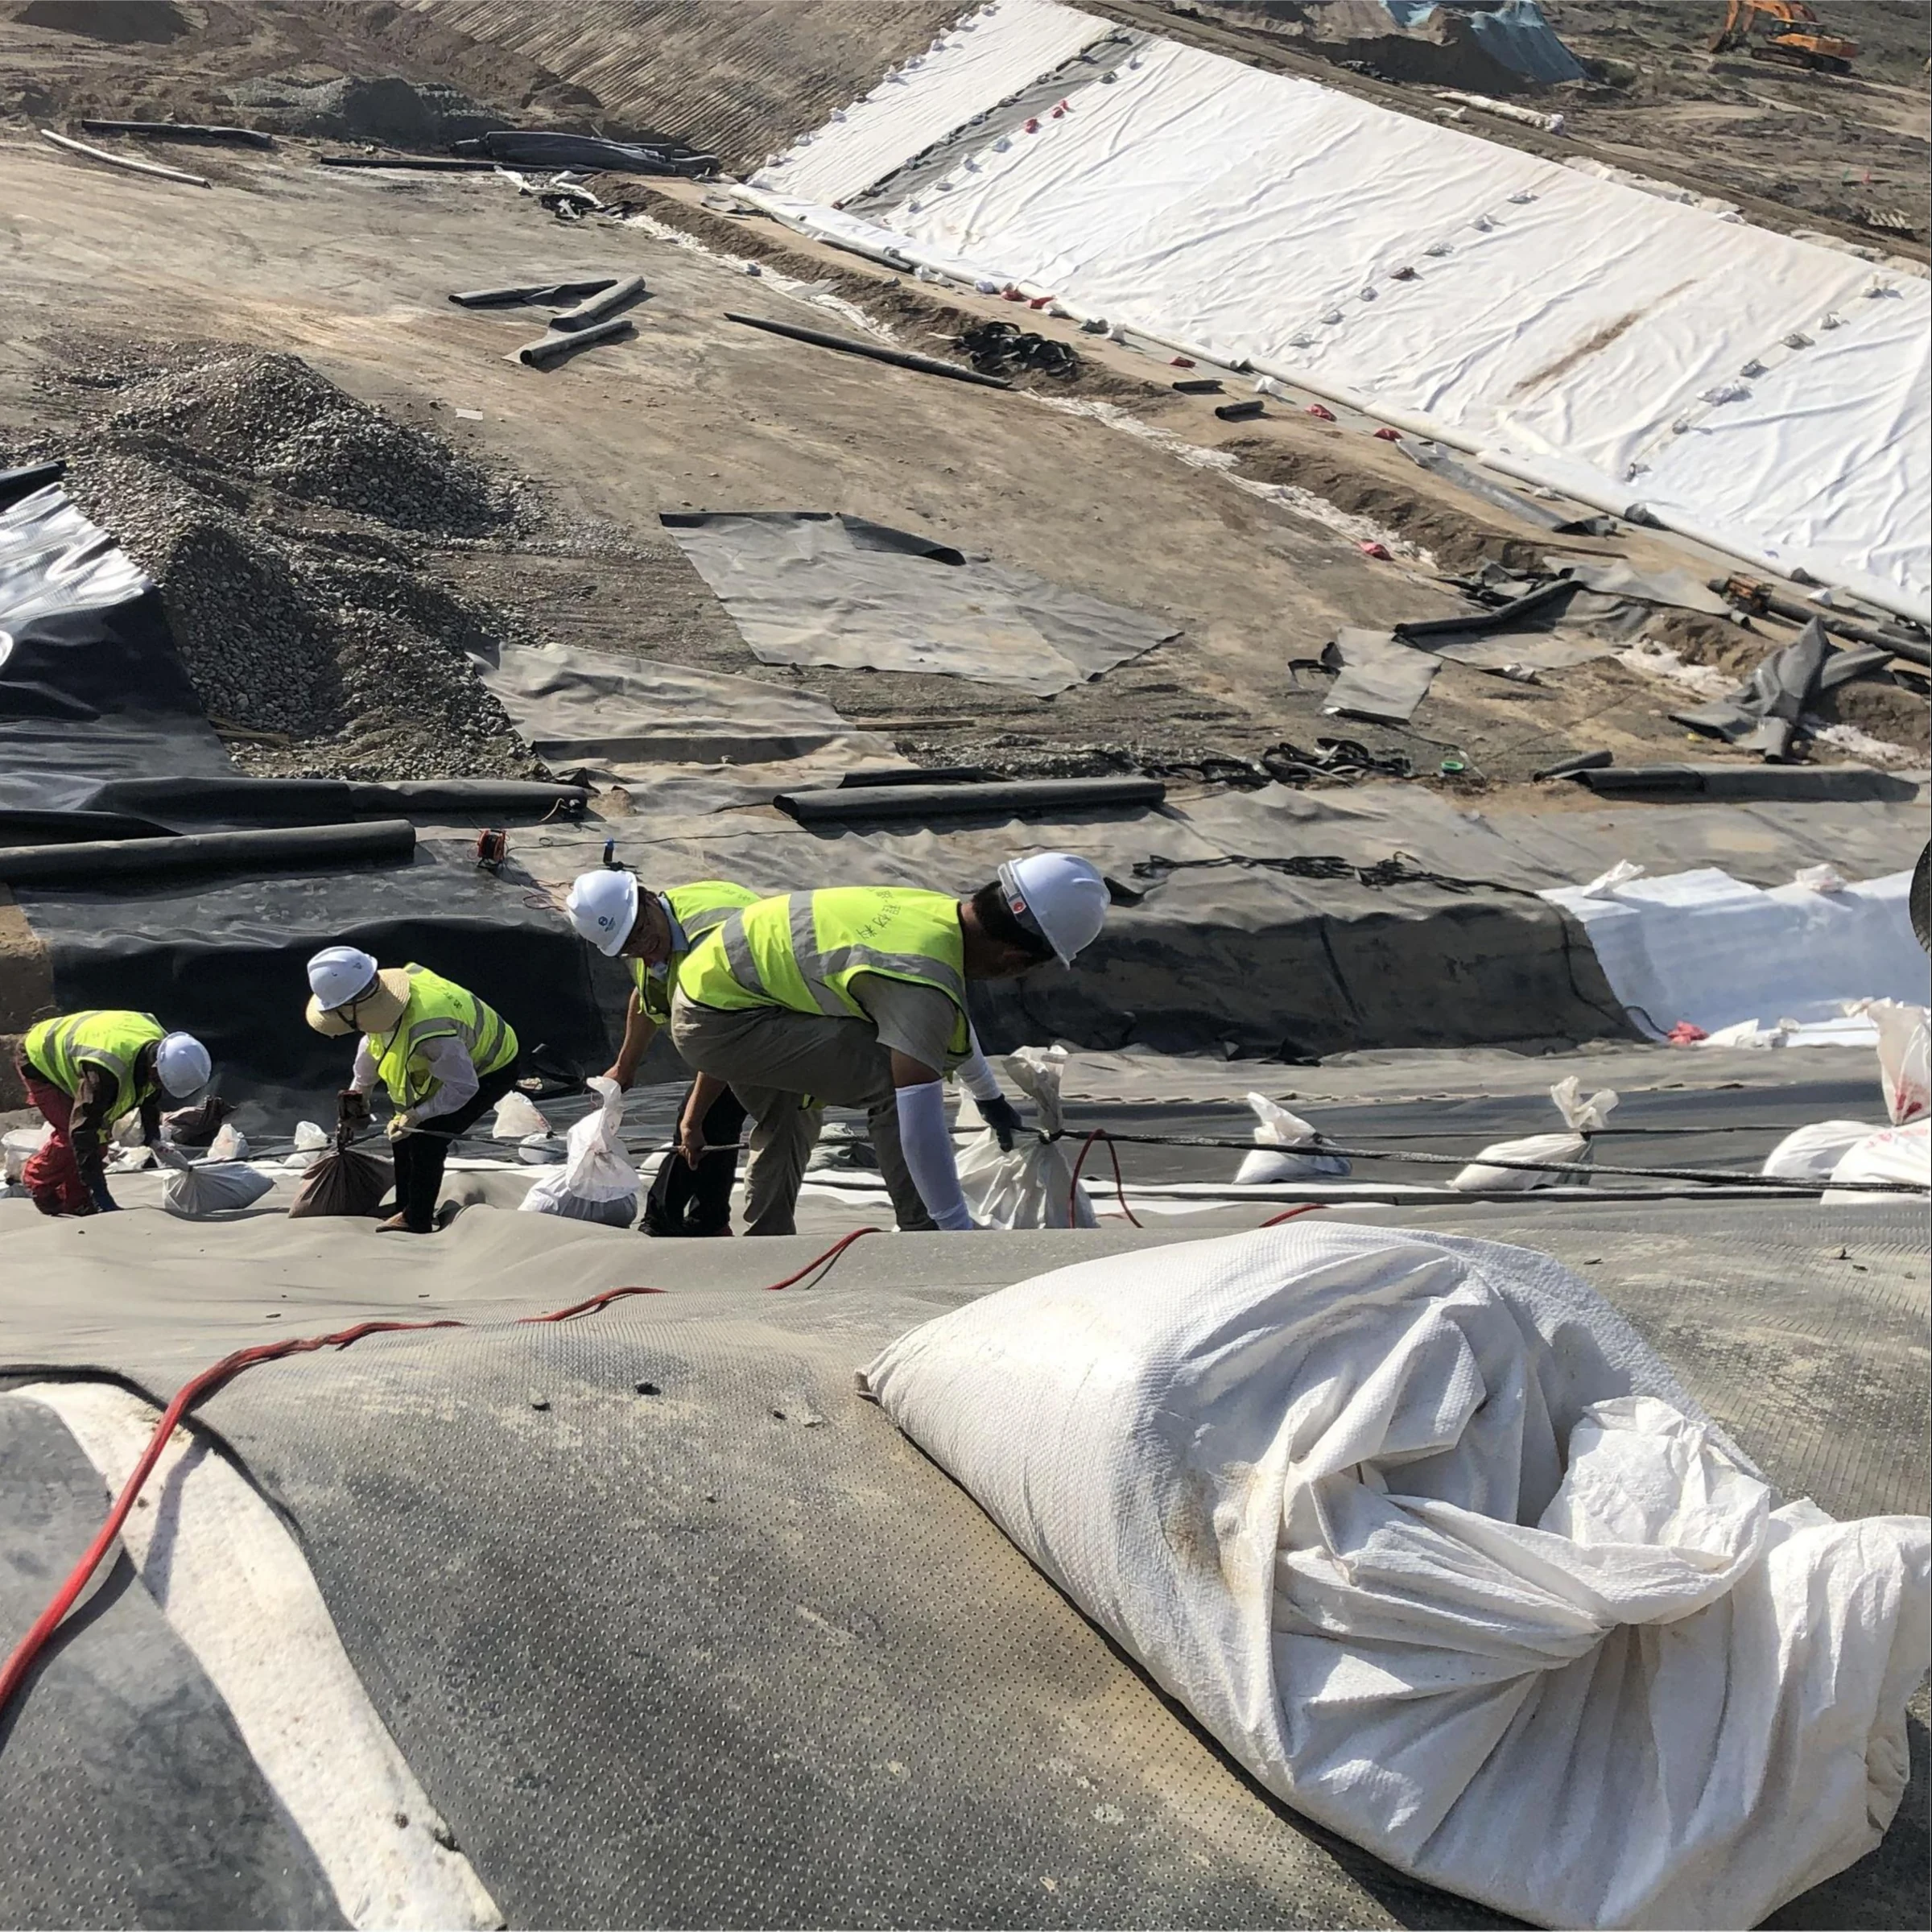
On site, most problems come from a few basic issues: sharp projections left in the subgrade, the wrong geotextile grade, folds, open overlaps, traffic damage, or debris trapped just before the HDPE is covered. These are the points worth controlling first.
Follow the Approved Liner Stack
Extra material is not always extra protection. If the liner design does not show a geotextile between two barrier layers, do not add one just because it seems safer.
Some composite liners are designed with the geomembrane directly against compacted low-permeability soil. EPA technical material describes composite liners using a geomembrane in intimate contact with the compacted soil layer.[1]
If the approved design shows:
HDPE geomembrane → compacted clay liner
do not change it on site to:
HDPE geomembrane → geotextile → compacted clay liner
That extra layer can change leakage behavior and sliding resistance. The same issue comes up when HDPE is used with a GCL. A landfill bottom liner system works as one designed system, so individual layers should not be added or removed in the field without approval.
Reject Bad Subgrade Before Covering
If the surface is poor, fix the surface. A heavy geotextile should not be used to hide it.
Before deployment, remove or correct:
- sharp and loose stones;
- rock edges;
- roots;
- wire, screws, metal, wood, and other debris;
- deep tire ruts;
- erosion channels;
- hard soil clods;
- soft or pumping soil;
- abrupt changes in grade;
- standing water where it has damaged the working surface.
Soft ground usually shows itself quickly. Deep footprints, wheel deformation, visible pumping, or soil moving under foot traffic are all warning signs. Repair the soil to the project requirement before the cushion goes down.
Concrete needs the same level of attention. Exposed reinforcement, protruding bolts, sharp corners, rough damaged joints, and hardened concrete projections should be corrected first. Normal roughness is one thing; exposed steel is another.
Judge Stones by Shape and Projection
Two stones can have the same size on paper and create very different risks under the liner.
Consider two particles that are both 25 mm across:
- one is rounded and buried in firm soil with only about 5 mm projecting above the surface;
- the other is angular and sits almost completely above a hard surface with a sharp point facing the liner.
The nominal size is the same. The contact condition is not.
Check:
- particle size;
- sharpness;
- projection above the surface;
- whether the particle is supported by surrounding soil;
- whether the surface below it is firm soil, rock, or concrete.
For that reason, a rule such as “all stones below 20 mm are safe” should not be applied to every HDPE liner system. A 25 mm rounded gravel particle and a 25 mm crushed-rock fragment are not automatically equivalent.
Match the Cushion to the HDPE
The liner thickness matters, but it is only one part of the protection decision. Common metric thicknesses can be compared with U.S. mil units as follows:
| HDPE Thickness | Approx. mil |
|---|---|
| 1.0 mm | 39 mil |
| 1.5 mm | 59 mil |
| 2.0 mm | 79 mil |
For reference, 60 mil is about 1.52 mm and 80 mil is about 2.03 mm.
A thicker HDPE geomembrane still needs a suitable supporting surface and protection layer. The cushion should be selected together with the liner and the site conditions, not ordered separately on fabric weight alone.
Needle-punched nonwoven geotextiles are commonly used for this job. GRI-GT12 specifically covers nonwoven geotextiles used as protection or cushioning materials.[2]
A needle-punched nonwoven geotextile still has to meet the required properties. “Nonwoven” describes the product type; it does not mean every grade is suitable for geomembrane protection.
Use GSM as Weight, Not Capacity
GSM simply means grams per square meter. It tells you the fabric mass per unit area. It does not tell you how much pressure the liner can take or what stone size is safe.
| Geotextile Mass | Approx. oz/yd² | Fabric Mass per 1,000 m² |
|---|---|---|
| 300 g/m² | 8.8 oz/yd² | 300 kg |
| 500 g/m² | 14.7 oz/yd² | 500 kg |
| 800 g/m² | 23.6 oz/yd² | 800 kg |
| 1,000 g/m² | 29.5 oz/yd² | 1,000 kg |
The last column is simple material mass before overlap, trimming, repairs, packaging, or waste.
A 500 g/m² product therefore contains about 500 kg of fabric per 1,000 m². It does not mean the cushion can safely resist 500 kPa or protect against a 500 mm stone.
Two 500 g/m² products can still differ in thickness, fiber structure, puncture strength, elongation, and compression behavior. When selecting nonwoven geotextile for construction, compare what the project actually needs instead of stopping at GSM.
Compare Datasheets on the Same Basis
When two products look similar, the datasheet is where the real differences usually show up.
- Mass per unit area: amount of material per unit area.
- Nominal thickness: measured thickness under the stated test condition.
- Puncture strength: useful only when test methods and reporting bases are comparable.
- Tensile strength: resistance when the material is pulled.
- Elongation: strain measured during the stated tensile test.
ASTM D5199 measures nominal geosynthetic thickness and notes that the method does not provide thickness values under varying normal compressive stresses.[3]
In practical terms, a soft nonwoven compresses once it is loaded. The thickness you see on an unloaded roll should not be treated as the thickness that will remain under water, soil, waste, or equipment pressure.
Also check whether the datasheet lists a value as:
- MARV;
- typical;
- average;
- minimum.
MARV means Minimum Average Roll Value. A MARV from one supplier and a typical average from another are not directly comparable just because both numbers appear in the same row of two datasheets.
Calculate the Load Before Selecting
Fresh-water pressure increases by about 9.81 kPa for every meter of depth.
| Fresh-Water Depth | Approx. Pressure | Approx. psi |
|---|---|---|
| 1 m | 9.8 kPa | 1.4 psi |
| 3 m | 29.4 kPa | 4.3 psi |
| 5 m | 49.1 kPa | 7.1 psi |
| 10 m | 98.1 kPa | 14.2 psi |
A 10 m fresh-water head is therefore close to 100 kPa, or about 1 bar.
Brine, slurry, and concentrated process solutions can have higher densities, so the fresh-water figures should not be reused blindly.
Soil and waste also need separate load calculations because their unit weights and behavior are different from water.
Construction loads can be more severe locally than the final operating load. Tires, tracks, turning equipment, or a dozer pushing aggregate can place heavy pressure on a small area, especially before enough cover has been placed.
Use the Right Puncture Test
ASTM D6241 uses a 50 mm probe to measure static puncture index strength and deformation of geotextiles and related products.[4]
Use D6241 for:
- comparing materials tested by the same method;
- material specifications;
- quality control;
- acceptance testing.
A D6241 result should not be read as the maximum safe field pressure for the installed HDPE system. A standardized 50 mm probe does not behave like every angular stone found on site.
When the actual liner system needs to be checked, ASTM D5514/D5514M provides large-scale hydrostatic puncture procedures. Its site-specific procedures can use selected soil or other representative base materials.[5]
A useful project-specific test should reproduce the important site variables:
- HDPE thickness;
- candidate geotextile;
- actual or representative aggregate;
- particle shape;
- support material;
- design pressure;
- temperature and loading time where they matter.
Rounded gravel tested at 20 kPa does not represent sharp crushed rock loaded at 100 kPa. Those figures are examples of different test conditions, not design limits.
Verify Every Roll Before Deployment
A wrong roll is easiest to catch before it is unrolled and covered.
Confirm:
- manufacturer;
- product name;
- roll number;
- specified grade;
- roll dimensions;
- required certificates;
- visible condition.
Inspect for cuts, oil, fuel, chemical contamination, mud, damaged packaging, and embedded sharp objects.
Keep roll identification until the required construction records are complete. If a problem appears later, the installed roll or production lot can then be traced.
During storage, keep rolls away from sharp ground, traffic, welding work, exposed steel, and uncontrolled dragging.
Lay Panels Flat and Keep Coverage Continuous
Before deployment, decide panel direction, sequence, overlap locations, access routes, temporary restraint, and HDPE deployment direction.
Do not cover these conditions:
- large wrinkles;
- folds;
- rolled-under edges;
- bunched fabric;
- open overlaps;
- loose repairs.
A fold creates several layers in a narrow strip and leaves a raised ridge below the HDPE. The actual height depends on the product and how much it compresses, so nominal thickness should not simply be multiplied to estimate the ridge.
Use the overlap width or seam method required by the project. There is no single universal overlap dimension for every installation.
EPA construction-quality guidance calls for checking geotextile overlaps or sewn seams and correcting folds, wrinkles, and damaged panels.[6]
Check overlaps once after deployment and again immediately before the HDPE covers them.
Reinspect After Wind, Rain, or Traffic
Some site events cancel an earlier inspection. When they happen, open the affected area and check it again.
- wind lifts a geotextile panel;
- rain causes erosion or soft soil;
- equipment crosses an accepted area;
- an overlap opens;
- a repair moves;
- dirt or stones enter beneath the fabric.
Do not just pull the material back into place. Look underneath it.
A vehicle may leave the geotextile looking intact while creating a rut below. A wind-lifted panel may fall back almost where it started while trapping stones underneath.
Repair Damage Before It Is Hidden
Use the repair method required by the project.
- Small clean tear: an approved patch may be sufficient.
- Large ripped area: replacing the affected section may be more appropriate.
- Contamination: replace the material if it cannot be properly cleaned.
- Overlap damage: repair the defect and restore continuous coverage.
- Slope repair: make sure the patch cannot slide, curl, or bunch.
A repair has to survive the next construction step. If the patch moves when the HDPE is pulled over it, the repair is not doing its job.
Clean the Cushion Before HDPE Placement
Immediately before covering, remove:
- stones;
- screws;
- wire;
- cable ties;
- welding rod;
- tools;
- wood;
- metal fragments;
- packaging.
A single screw left on the cushion becomes a hard point directly below the HDPE.
Watch the leading edge as the membrane is moved into place. Stop if the cushion starts to move, bunch, or pull an overlap open.
Check Slopes for Sliding
On a slope, a thicker cushion may solve one problem and create another if the new interface has poor shear resistance.
For example:
soil → geotextile → HDPE
contains more than one possible sliding interface.
ASTM D5321/D5321M is used to measure shear strength between soil and geosynthetics or between geosynthetic layers under defined conditions.[7]
If a GCL is involved, ASTM D6243/D6243M covers internal GCL shear strength and shear strength between the GCL and adjacent materials.[8]
The difference between smooth and textured HDPE on slopes can also affect interface behavior.
Do not select a higher-GSM cushion on a steep slope without checking whether the resulting interfaces remain stable.
Protect Pipes, Corners, and the Top Surface
These details deserve more attention than large open areas because hard points and folds often collect around them.
Inspect pipes, sumps, drains, walls, columns, benches, and concrete transitions for:
- exposed concrete edges;
- bolts and brackets;
- flange edges;
- sharp metal;
- large gaps around penetrations;
- loose patches;
- thick folded bundles.
Ask one practical question: Where will the HDPE press when the system is loaded?
The pipe may be smooth while a nearby bolt, flange, or concrete corner becomes the actual hard point.
A cushion below the HDPE protects only the underside. If angular aggregate, coarse cover, concrete, or waste will contact the upper surface, the design may require another protection layer above the geomembrane.
A possible system is:
prepared soil → lower cushion → HDPE → upper protection geotextile → drainage material
This is an example only. It should not replace an approved composite-liner detail.
Do Not Assume the Cushion Is a Drainage Layer
A nonwoven geotextile can pass water, but that does not mean it has enough in-plane flow capacity to work as a drainage layer.
If drainage is required, check hydraulic performance under the actual pressure and contact conditions. ASTM D4716/D4716M measures in-plane flow rate and hydraulic transmissivity of geosynthetics.[9]
Compression can reduce the open structure available for in-plane flow. Unless the design checks both functions, treat cushioning and drainage as separate jobs.
Control Material Substitutions and QA
A supplier certificate does not replace project conformance testing.
ASTM D4759 provides a procedure for checking whether geosynthetic properties conform to a material specification.[10]
ASTM D4354-26 provides sampling procedures for manufacturer quality control, manufacturer quality assurance, and purchaser specification-conformance testing.[11]
If a supplier offers a “same GSM” substitute, compare:
- product construction;
- nominal thickness;
- puncture properties;
- tensile properties;
- test methods;
- MARV or typical-value basis;
- project approval requirements.
The project should also make clear who can accept the subgrade, approve repairs, approve substitutions, and release an area for HDPE placement. These controls should be coordinated with the project’s HDPE geomembrane installation and QC procedure.
Diagnose Common Field Defects
| What You See | Likely Cause | Action |
|---|---|---|
| Straight raised line under the liner | Folded or bunched geotextile | Open the area and remove the fold before covering |
| Overlap becomes narrow or opens | Wind, slope movement, or HDPE deployment | Restore continuous coverage and check why the panel moved |
| Tire marks on the cushion | Uncontrolled equipment traffic | Inspect both the fabric and the subgrade beneath it |
| Stones found under a lifted panel | Poor cleaning or wind-blown debris | Inspect and clean the surrounding affected area |
| Patch curls or moves | Repair is too small or unstable | Redo the repair before HDPE placement |
| Supplier offers a “same GSM” product | Substitution may not match other required properties | Compare the full specification before approval |
| Sharp rock or steel used as ballast | Temporary restraint creates a hard point | Use the approved restraint method and inspect the area |
Run the Final Pre-Cover Check
- Correct geotextile product installed.
- Roll identification recorded where required.
- Subgrade remains firm and accepted.
- No new erosion, rutting, or soft areas.
- No stones, screws, wire, or other debris on the cushion.
- No large folds or bunched fabric.
- Overlaps or seams meet the project requirement.
- Repairs are secure.
- Temporary restraint creates no sharp contact.
- Pipes, corners, and transitions are protected.
- No unapproved product substitution has occurred.
Do this check immediately before HDPE placement, not several days earlier.
Verify the Completed Liner
Visual checks and cushion QA reduce the chance of damage, but they do not prove that every part of the installed geomembrane is free from holes.
ASTM D6747 provides guidance for selecting electrical leak-location methods for installed geomembranes and identifies subgrade condition, overlying materials, workmanship, accidents, manufacturing defects, and installation damage as possible causes of leaks.[12]
Where the liner layout allows it, geomembrane electrical leak location can be used to find certain breaches outside welded seams.
Seam testing checks weld quality. Electrical leak-location methods can check for defects elsewhere in the sheet when the selected method is suitable for the installed system.
Finally
A 1.5 mm HDPE liner is about 59 mil. A 500 g/m² geotextile is about 14.7 oz/yd² and contains roughly 500 kg of material per 1,000 m². Five meters of fresh water applies about 49 kPa at the liner, while 10 m applies about 98 kPa. Those numbers are useful reference points, but none of them alone proves puncture safety. The real decision still comes down to the worst stone shape and projection, the condition of the subgrade, the actual load, the geotextile properties, panel continuity, slope interfaces, and construction traffic. Where simple product data cannot represent those conditions, use project-specific protection testing before approving the liner system.